Sunday, November 13, 2011

chocolate mint deliciousness (aka brownies)


You know what's delicious? Chocolate. And mint. Together. So good. I would recommend though, if you're going to make these, that you wait until you have a lot of visitors. Because you will eat all of the leftovers. ALL of them. They are so good.

I used the recipe from here and the icing recipe from here.

Brownies:

3/4 cups flour
1/2 teaspoon salt
1 tablespoon dark cocoa powder
5 ounces good quality dark chocolate, coarsely chopped
1/2 cup butter, cut into 1 inch cubes
3/4 cups sugar
1/4 cup firmly packed light brown sugar
3 large eggs, at room temperature
1 teaspoons vanilla extract 

Filling:
1/2 cup butter, softened
2 cups confectioners' sugar
1 tablespoon milk
1/2 teaspoon mint extract
 3 drops green food coloring

Chocolate top:
6 ounces of chocolate (In this recipe I preferred semi sweet to dark chocolate, and I usually love dark chocolate)
1/2 cup of butter, cubed

To make the brownies: 
Preheat the oven to 325 degrees.
Grease a 9 x 13 pan. Line with parchment, and then butter the parchment. (It's so easy to pull the brownies out of the pan to cut them this way.)

In a medium bowl, whisk together the flour, the salt, and cocoa powder.

Place the chocolate and the butter in the bowl of a double boiler and stir occasionally until the chocolate and butter are completely melted. Turn off the heat, but keep the bowl over the water of the double boiler and add both sugars. Whisk the sugars until completely combined. Remove the bowl from the pan. The mixture should be at room temperature.

Add three eggs to the chocolate and butter mixture and whisk until just combined. Add the vanilla and stir until combined. Do not overbeat the batter at this stage.


Sprinkle the flour, cocoa, salt mix over the chocolate. Using a spatula  fold the dry ingredients into the wet until there is just a trace amount of the flour and cocoa mix visible.

Pour the batter into the prepared pan, smooth the top with an offset spatula, and bake for approximately 12 to 15 minutes. A toothpick inserted into the brownies at an angle should contain a few loose crumbs. Let cool completely while you make the filling.

(It seems like a lot of steps to make the brownies, but I've made these twice now, and you won't be disappointed.) 

Filling:
In a small bowl, cream butter and confectioners' sugar. Add the milk, extract and food coloring until blended. Spread over cooled brownies. Refrigerate until set.

Chocolate Top:

Using a double boiler, melt the chocolate and cubed butter, mixing with a spatula. Once the mixture has combined and melted together remove from the heat. I let the chocolate sit for a few minutes, to let it cool off, before pouring over the filling. Place the brownies back in the fridge until the chocolate hardens, approx 1 hour. Cut into squares (or giant rectangles!) and serve.


Friday, November 11, 2011

thumbprint santa tags


Thanksgiving and Halloween have come and gone here in Canada, and we are getting so excited for Christmas. Claire asks every day if we can get our Christmas tree yet, and she's well on her way to learning her second Christmas carol! We've been busy working on Christmas crafts- this is one of the first ones that we did.

The supplies to make these are pretty basic. 
A few tags cut from cardstock
red and cream paint
red and black pen
googly eyes
sequin for the belt (or you could use a small button)
q-tips (we just pulled the cotton off the ends for the hat and beard. Admittedly, I was looking for our cotton balls, but I couldn't find them so we used the q-tips.)
twine to hang the tags (mine is from The Twinery and I love it!)

Sadly I have no pictures from along the way. Paint + toddlers = work fast before the paint covers everything.

Start with the cream colour paint. Have (or help) the child stamp a thumbprint in the middle of the card. Using the red paint stamp a thumbprint on top and underneath of the cream one.
Set aside and let them dry.
Once the tags are dry, add on all of the finishing touches. Use the red pen to draw the smile, arms and legs. Use the black pen to draw the belt. Glue on the eyes, sequin, and cotton. (Roll the cotton off of the q-tips and form ball the the top of the hat. Roll the cotton between your fingers to stretch out for Santa's beard.)

Embellish with some beautiful twine (or ribbon) for the prettiest Christmas gift tags.

Pin It
Has anyone else started their Christmas projects? Link them up in the comments, I'd love to see what you're working on!

Thursday, October 13, 2011

Halloween thumbprint art


What's great about thumbprint art is that it is so quick and easy to do. Also, there's very little mess involved, which isn't really true for all of the other painting crafts that we do! I did so this project in stages- since my daughter has given up naps, time isn't as affluent as it once was. Man I miss those naps.

I started by first cutting out the scalloped circles and the happy Halloween letters, using my cricut. Then, after the kids were done eating supper one night, we painted all of the thumbprints on the tags. Once the tags were dry, Claire and I added on all of the details on the tags. 
Then all I had to do was put it all together. I picked up the frame at a second hand shop and painted it white. The cork board is from the dollar store. I cut it to size, and taped it to the back of the frame. (Claire's not napping anymore- I didn't have time to put it in properly.) Next, I glued on my happy Halloween letters and added a piece of patterned paper to break up the picture a bit. I just stuck the pins on the cork slipped the circles over them. 

Want to see some close ups of the pictures?

The pumpkins. As Claire is getting older she's wanting to help me add all of the finishing touches to the pictures. She drew the stems.


The ghosts. We just added googly eyes once they were dry. 
 The spiders. I did encourage Clarie to draw 8 legs on each spider, perhaps even 4 on each side of the spider- BUT Claire beats to the sound of her own drum apparently.
 The bat. I cut off the wings from one of the bats that I had cut out from my Halloween bouquet. Draw on ears and a smile (my kids are still small, so we make friendly bats and witches!) Add some googly eyes and you're done!

What sort of projects are you making for Halloween? Link them up in the comments so I can see them!


Tuesday, September 27, 2011

halloween bouquet

If you're looking for a Halloween project that you can work on while you catch up on all of the season premieres- then this is it! It really is such a simple project. I just drew a template of a bat and ghost. (Well my soon to be sister in law helped me out with the ghost- thanks Judy!) I traced the patterens onto some white cardstock for the ghost, and black and grey cardstock for the bats.  (Let me know if you'd like me to post the templates for the bat and the ghost.)
 Once I had a few of each shape cut out, I taped them onto sticks. I glued googly eyes on the ghosts, but you could just as easily draw on eyes and mouth if you'd like. I covered the outside of the jar with a piece of patterened paper. Then I crumpled up a piece of paper and squished it in the jar so that the sticks would stay just how I arranged them.

Here's an up close shot of the casst. Grey bat, black bat, and white ghost.
There you have a Halloween bouquet of bats and ghosts.

Monday, September 19, 2011

footprint flying witch


I can hardly believe that the summer's nearly over and that it's almost fall. Thank goodness. I am welcoming this cooler weather with welcome arms (I love sweater weather!)  The kids and I have been working on some fall art projects. One of the first ones that we've done is this footprint witch. How very halloween!

This is such a simple project to do. All you need are a few basic things that you probably already have on hand.

Supplies:
black and cream colour paint
markers (I just used Claire's crayola ones)
googly eye
paper scraps (or you could just use a marker to draw them on)

1. Paint the heel using the cream paint, and then quickly paint the rest of the foot black. Stamp onto the paper.
2. Once it's dry start to draw on the details. I started by drawing the broom first.
3. Draw on smile, and messy hair. Draw on arms holding onto the broom.
4. Glue on googly eye.
5. Cut a triangle out of black paper for the witch hat. I cut a small, thin rectangle out of purple for the band on the hat.
6. Cut out (or draw, I don't trust my drawing!) a few stars for the night sky.
7. Display. Claire LOVES seeing her artwork on display.

Thursday, September 15, 2011

fun fall activities printable


Looking for some fun fall activities for kids (mostly toddlers)? Look no further. You can download this little list here.

Some of these ideas I've seen on Pinterest (of course) and I can't wait to try them with my kids this year. Things like ghost mashed potatoes, leaf ghosts, and thankful tree. Other ideas we've already done, like the footprint fire trucks (a great activity for fire prevention week), leaf caterpillar print and turkey handprints.

It's nice to be able to check off activities on a list so that the whole season doesn't pass you by without you getting to do the things you had hoped to do.

What are you favorite things to do in the fall?

Friday, September 9, 2011

leaf print Hungry Caterpillar


Claire LOVES the Hungry Caterpillar. Who doesn't?? So I came up with this little leaf print craft to make with her.

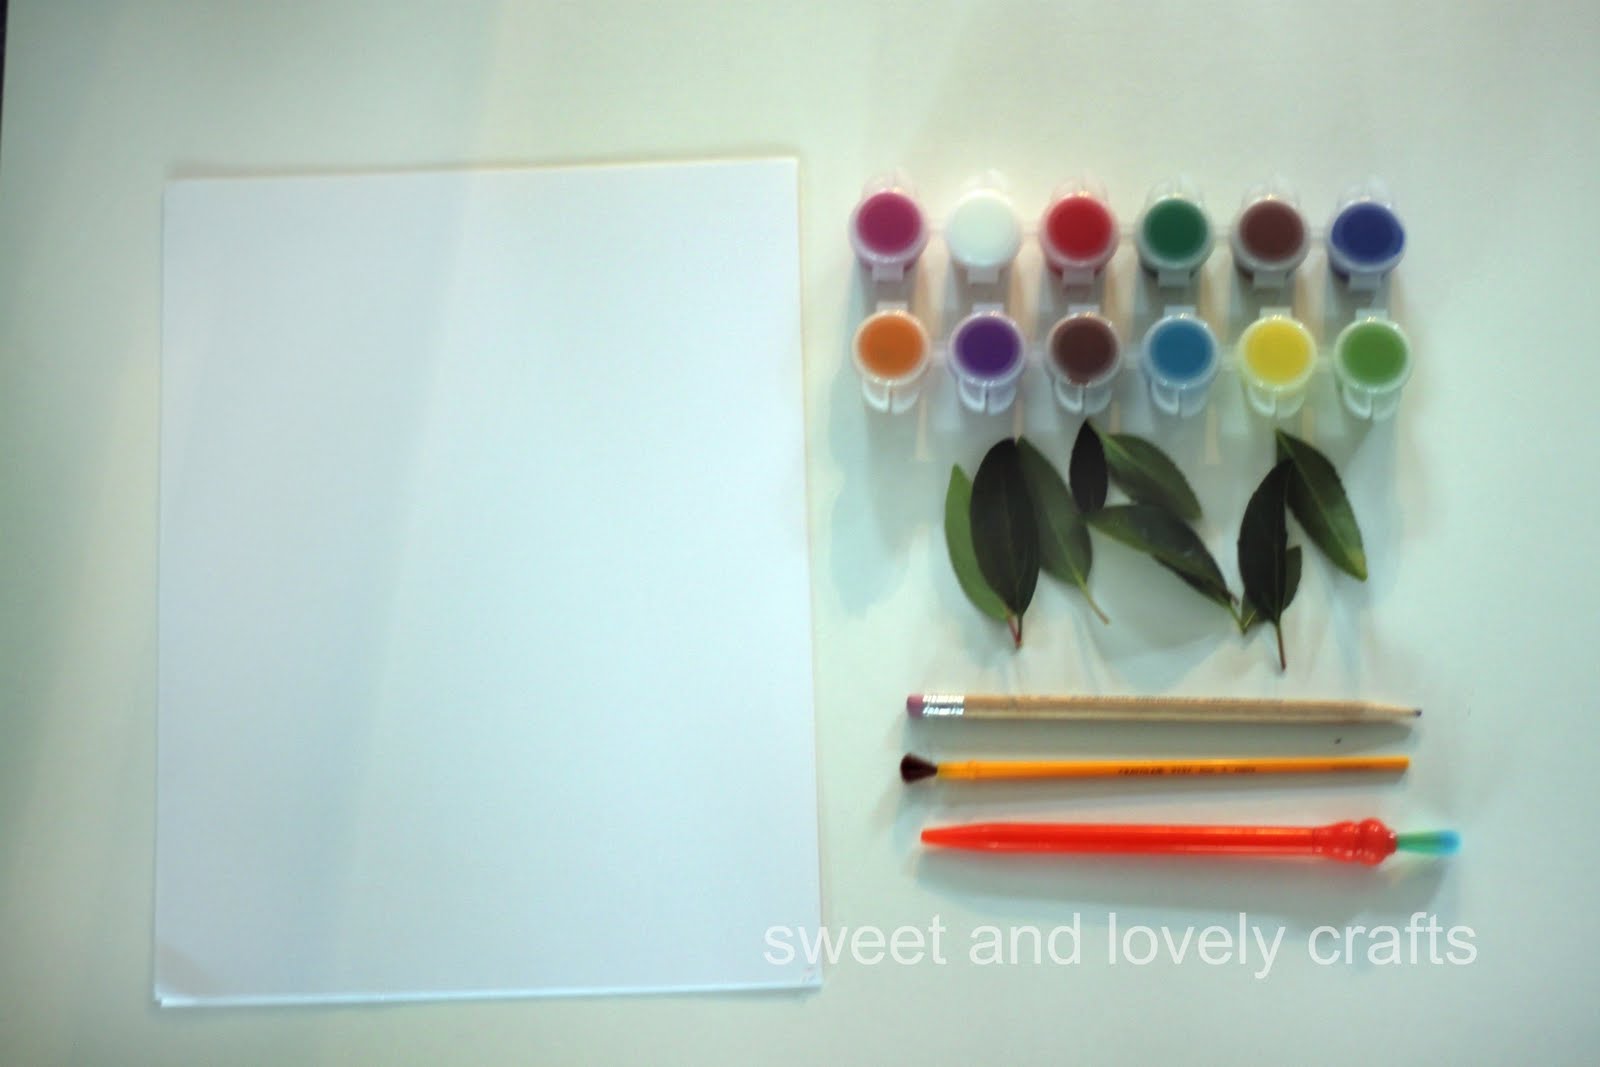
To get started we used green paint, a lime green paint and a little bit of white paint so that our picture would look a little bit more like the one in the book. I drew a light line on the paper as a guide for us to follow where to press the leaves. Claire was more interested in helping me paint the leaves than pressing them on the paper. We also used a few different sizes of leaves. We started in the middle with the largest leaf, and then worked our way down the sides using smaller leaves. After we had the body of the caterpillar done we went outside to find a nice big leaf for the face and two very small leaves for the ears. Picking the leaves off of the trees was definitely Claire's favorite part! Once the body is dry you can add the eyes, I cut mine out of paper.


Then I thought that it might be fun to stamp the circles that are on the first page of the caterpillar book. I drew two lines on a piece of white paper and just let Claire picked random colours that she wanted to stamp on the paper between the two lines. This would have been lovely done on the same piece of paper as the caterpillar, but Claire's a bit of a wild cannon with her stamping sometimes, so we used another piece of paper, and then taped the pieces together when they were dry.

 Ta da! A perfectly frame-able work of art- Hungry Caterpillar style.
Related Posts Plugin for WordPress, Blogger...