Thursday, March 24, 2011

The Best Banana Muffins EVER.


I love love love banana muffins. I have spent years looking for the perfect recipe for them. Every time I would pick up a magazine I would rip out the recipes for banana muffins, and time and time again I was disappointed with them. Then, one unsuspecting day, I was visiting my Dad and his wife Olga, and I had the most delicious banana muffin. Olga had the perfect recipe. I left that day with the recipe, and I haven't tried another recipe for banana muffins since then. It's so simple to make. Try it- you won't be disappointed.

Banana Muffins
 

1 cup sugar
1½ cups flour
1 tsp baking soda
1 tsp baking powder
¼ tsp salt
½ cup butter, melted
2 eggs
3 bananas, mashed
 
Combine sugar, flour, baking soda, baking powder, and salt. 
Stir in butter, eggs and bananas. Mix until combined well.
Spoon into muffin cups and bake at 350° for 25-30 minutes.
Makes 16-18 muffins.


Also, on an unrelated note- have you all discovered the fabulousness of pinterest? It is SOOOO awesome. If you have- you can follow me here. You can request an invite to join the site- it took less than a week for my sister and I to receive ours. Can't wait to see what you start pinning!

Linking up with:Skip to my LouTatertots and Jello & It's a Hodgepodge Life

Tuesday, March 22, 2011

Bunny Bunting

 I just love the look of buntings. I made one for Claire's room a little while ago and I just love the punch of colour that it adds to the room. I wanted to make a scaled down version for Easter. What does one need to make an Easter Bunny Bunting?

For the bunnies:
pink cardstock
googly eyes
black marker to draw on the face
dark pink paper for the nose
template for the bunny

For the bunting:
coordinating patterned paper
template (makes things easier)

scissors
hole punch
ribbon

The project was so simple to make. To start, I made a bunny template. (If you're interested, I can post the template.) Then I cut out all of my bunnies. I like to get all of the cutting out of the way, so I also cut the bunting triangles too. It's so easy to do while you're watching tv. Then Claire and I glued on the googly eyes. I ended up finishing off the bunny faces while Claire was napping, but obviously older children could draw the faces themselves. Then punch a hole in each ear of the bunny, and each side of the bunting. Thread a ribbon through the holes and voila! you're done!
 Can you tell Claire glued on these eyes?
 Bunny bunting.

Wednesday, March 16, 2011

Easter Thumbprint Art

I can't help myself with all of this thumbprint art. I love thinking of new ideas that Claire and I can make. This time we even got Simon involved a little bit (although- he totally tried to fight it.) The best part of this craft is that it cost less than $5. Yahoo! I love that I had almost everything on hand that I needed to do this project.

I went to a local second hand shop and picked up this frame (11 x 14) for just $1.99. It's a bit dinged up, and was obviously not the right colour but it was nothing that a little paint couldn't fix. (I used white paint.)

The last time that I was at my local dollar store I had noticed these cork boards there. They are sold two in a pack for $2 (price increases at the dollar store). I was hoping to find a frame that would need just one board, but in the end I like how this worked out better.

I just used a bit of packing tape to tape the cork boards together, and then I cut them to the size of the frame. I taped a piece of ribbon on the front of the cork boards to cover up where the cork boards meet.
I went through my paper stash and picked out the prettiest pastel Easter/spring coloured paper that I could find. Then, I used my cricut to cut out some more scalloped circles (I am just loving the scalloped circles now- are you tired of them yet?) Want to see close ups of each tag?

I love this one. The body and ears are each made using a thumbprint. Once the white paint was dry Claire used a bit of pink paint on her pinky finger to finish off the bunny ears. Then I just added the little details. You could of course just draw on the nose, eyes, and bow tie.
For the butterfly we used a slightly lighter shade for the top wings, and then the darker colour on the bottom. We waited until the purple was dry before Claire used her thumb to paint the black bit.
This one was definitely the easiest one to do. Claire just painted three dots, and then I added the leaf & stem detail afterwards.
But the chicks...the chicks are my favorite. Claire painted the big chick and Simon painted the little chick. I love it.

To finish the frame off I cut out the letters (using the same papers that I used for the tags) to spell out Happy Easter. Happy Spring would work too.


And there you have it- a festive piece of (interchangeable) Easter art for less than $5. I love our little piece of Easter art- but most importantly- Claire loves seeing her projects hung up all around the house.


 Linking up with: The Trendy Treehouse & Serenity Now & ABC and 123 Learning & Funky Polkadot Giraffe & Today's Creative Blog & Skip to my Lou & Sun Scholars Somewhat Simple & Delicate Construction  & Someday Crafts & So You Think You're Crafty & The CSI Project

Thursday, March 10, 2011

transportation art print giveaway


When I saw MADE was highlighting just boy stuff for the next 30 days (Celebrate the Boy) it made me want to make a few special projects just for Simon. So I sat down and tried to think of some ideas for Simon. I'm not really much of a sewer (yet!), but I LOVE to make paper crafts. This is my first project that I have made since hearing about Celebrate the Boy- but I have another one that will hopefully be done soon! This one seemed to take quite a while because I had to abort work on it for a bit to plan and host Claire's Birthday party.

My inspiration? These sleepers. I love the simplicity (and boyish-ness) of the trucks, airplanes, and cars. I knew that even I would be able to draw these trucks. I loved how on the white sleeper the animals were stacked on top of one another. This was my starting point.
Then, I sat down and tried to sketch out some ideas. The truck and boat were fairly simple (lots of straight lines!) The car took me a few tries. The airplane, I had to give up on though. They are tricky to draw. I would have added the airplane if I was making a larger print, but I decided to make an 8 x 10, which didn't really leave enough room for the plane (thank goodness!)
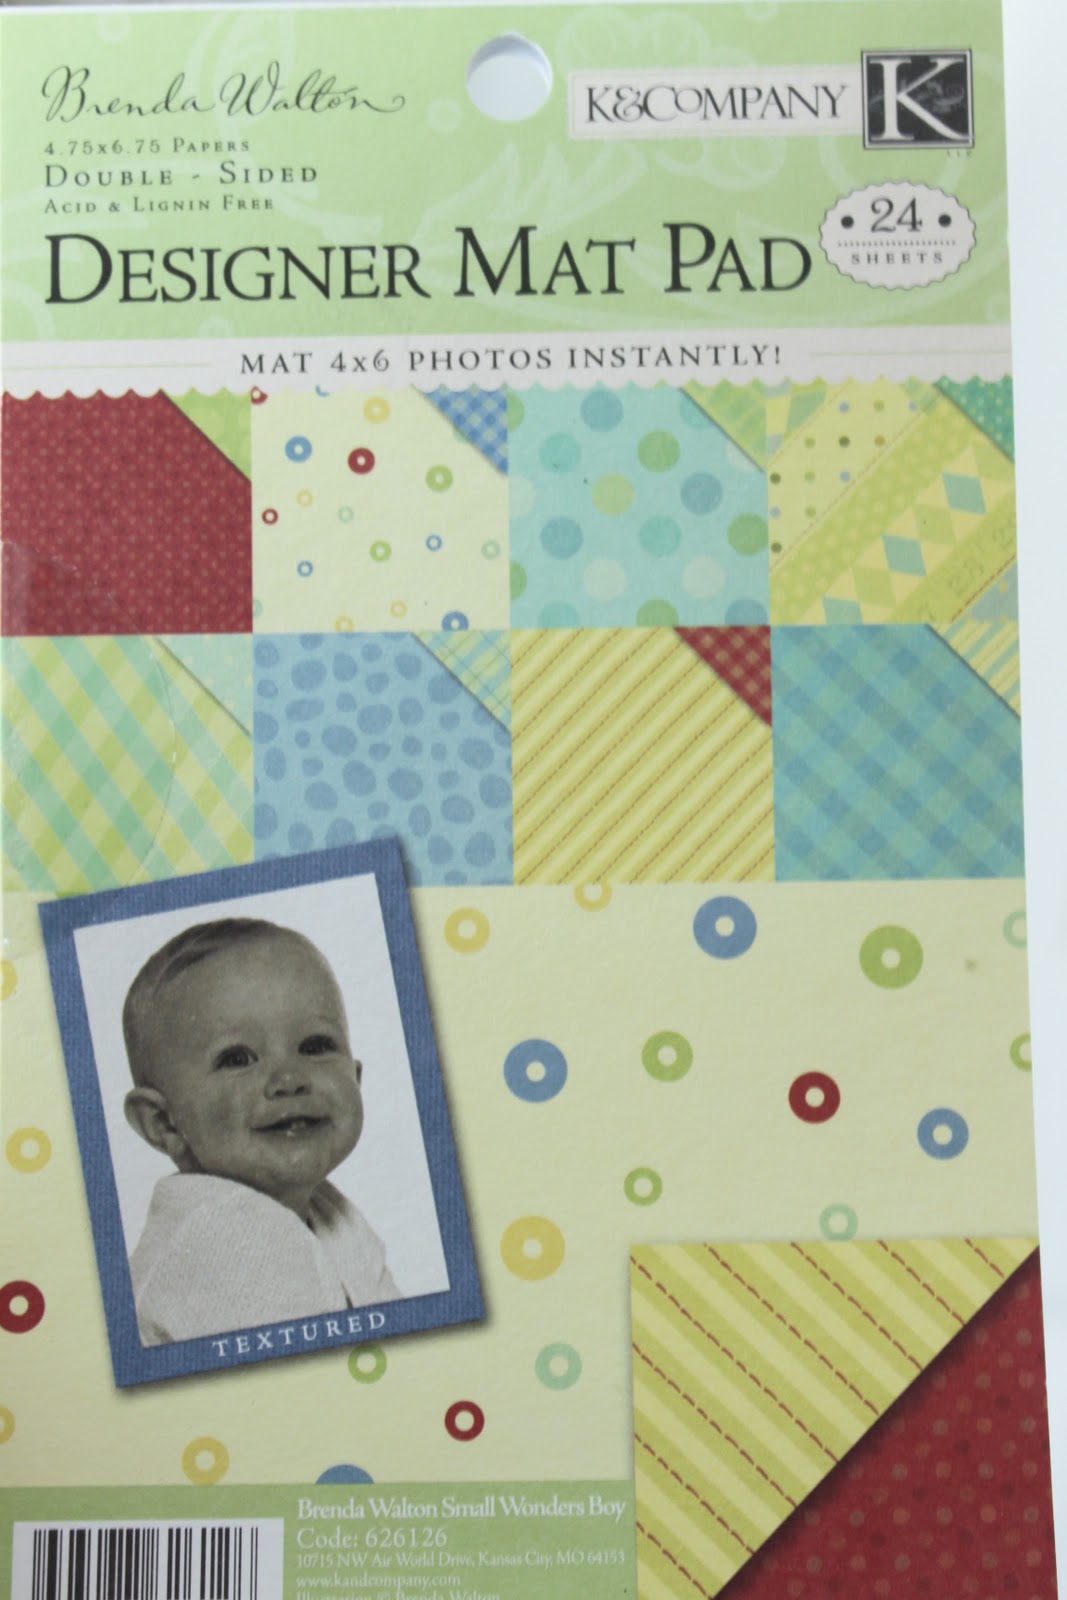
Then, I went through my paper collection, I started pulling patterned papers left right and center. Then when I saw just how many different pieces that I would need, I remembered that I had picked up this little pack of coordinating papers a while ago on a trip to Michaels. I flipped through it and knew that it would be perfect for the project.

The papers that I chose- aren't they nice and pretty boyish?

Then, using my scissors, paper trimmer, and exacto knife I cut out all of the pieces.

Then, I printed the words out on the white paper (which *may have taken me forever to get them just right- I should have just used rub-ons) and glued on all of the pieces. 

The best part of this project was that I made two prints. One for Simon's room, and one for YOU. That's right, you could be the lucky winner of one of these prints- the perfect addition for any boy's room.
Want to win? Just make sure you're a follower of sweet and lovely crafts. Then, leave me a comment. Please include your email address. One winner will be chosen via random.org. Giveaway is open until March 17, and the winner will be announced on March 18.

The winner is: #1 Visible Voice. Send me your address and I'll send the print to you.
Thanks everyone for entering, I wish that I could send you all one!

Linking up with:Made by You Mondays @ Skip to my Lou & It's a Hodgepodge Life & Tatertots and Jello

Sunday, March 6, 2011

shamrock bouquet

I saw this idea on Rebecca Cooper's blog for Valentine's Day and I thought that it would be perfect for St. Patrick's Day. I mean, even though we still celebrate St. Patrick's Day, I don't go all out decorating for it.

 This was such a simple project to make. I just cut out some shamrocks using this pattern, out of some green paper. I covered a mason jar with some green paper. Then I just taped the shamrocks onto some skewers and put them in the mason jar. Ta da! (Or Ta! as Claire says) You're done.

What sort of crafts or projects do you make for St. Patrick's Day? Do you go all out for it, or do you skip right over to Easter?

Linking up with:Somewhat SimpleToday's Creative Blog & Molly Moo & Made by You Mondays @ Skip to my Lou

Wednesday, March 2, 2011

wee little leprechaun bookmarks

St. Patrick's Day might be a day that goes uncelebrated in some households- but not in mine. My Mom was born and raised in Ireland which means that you better break out the green on March 17! I decided that since I love making these thumb print crafts so much, we would make one just for St. Patrick's Day.

Look at this wee little leprechaun- isn't he cute? 

I love making these crafts on tags, like my snowmen ones here, or the little love bug ones here, but that doesn't really work so much for St. Patrick's Day. SO, we made these larger ones so that we could pass them out to family to use as bookmarks.

To make these you will need:

green, orange, and cream coloured paint
googly eyes
black sharpie
small piece of yellow cardstock
scissors or utility knife to cut the little yellow square
piece of cardstock for the bookmark (we used a very light green)
twine or ribbon for the top of the bookmark

1. using the orange paint stamp a thumprint on the bookmark
2. using the green paint stamp the green thumb print on top of the orange one, set aside to let dry
3. use the pinky to stamp on the face using the cream coloured paint
4. just add on all of the details, googly eyes, smile, and hat detail
5. add a piece of twine or ribbon to the top of the bookmark


Linking up with:Sun Scholars & ABC and 123 Learning  & Molly Moo & Today's Creative Blog & Made by You Mondays @ Skip to my Lou  & Tatertots and Jello & It's A Hodgepodge Life & Somewhat Simple


Monday, February 28, 2011

Claire's Rainbow Birthday party

I cannot believe that Claire's three. I know everyone says it- but seriously, where does the time go? She's growing (& learning) so fast. She makes me laugh so hard every day. Claire loves rainbows now. We spend a lot of time gathering cd's and trying to reflect the light to make rainbows on the ceilings. We were reading a book last week and Claire asked me why there was no indigo in the rainbow. I think that she's 3 going on 10.

We just had a small party since Claire prefers smaller groups of people. But I am excited to have larger parties in the years to come because I had so many ideas that I wanted to use here, but couldn't justify making all of these rainbow foods for just a few people.

This was such a fun party to plan. Here's the pic of the table. I served fruit kabobs, and heart peanut butter and jam sandwiches. (Close up shots of the details below.)

The cake came out so well. I was so worried that something would go wrong with it. I used this cake recipe from Whisk Kid. I used my own butter cream icing recipe though. I'm not going to lie- it took a lot of icing. If I could offer one bit of advice to anyone who wants to make this cake- make sure your layers look very very even before you put them into the oven. I thought that I had smoothed out my layers enough, but my purple layer was a little wonky, which kind of threw me off a bit.


Claire just loved the inside of the cake. Sometimes when you ask her what the favorite part of her party was she will tell you the rainbow cake- the other times she'll tell you it was playing with her new toys.

I just made this little rainbow coloured bunting for the top of the cake to add a little colour to it before we cut it. I cut out my triangles out of cardstock and glued them onto my awesome Twinery twine. Then I just tied them to some bamboo skewers and stuck them into the cake.

 These are our rainbow fruit kabobs. Of course, these are missing a few colours since there isn't a purple or indigo coloured fruit (that I could think of anyway)!
I love making labels for the water bottles for Claire's party. (Even though,  I would never otherwise buy bottled water.) I had received a pack of digital papers from Lesley Grainger (I love her designs!) a little while ago, and so I used that paper for my background (red and white polka dots). Then I just added in the white circle, text, and rainbow in picnik. (Although if you're looking for the rainbow in picnik you won't find it because I designed it myself.)

I used a 2 1/2 inch scalloped circle punch to punch out circles of paper (naturally all in rainbow colours) and then I sewed them together to make a garland to hang up. (Easy to tell I'm a novice sewer with all of those crooked lines- isn't it?!)

 I used my cricut to cut out these letters. Claire 'helped' me.
 And here she is, my little big Birthday girl. I will be so happy when she just gives into me and starts to cooperate with the camera :)
 And for good measure, a new pic of Simon. My sister pointed out that the kids have the same expression in these pics. I made this shirt for Simon using this tutorial here. It's so cute, I need to make him more shirts in different colours.


Related Posts Plugin for WordPress, Blogger...