Monday, January 21, 2013

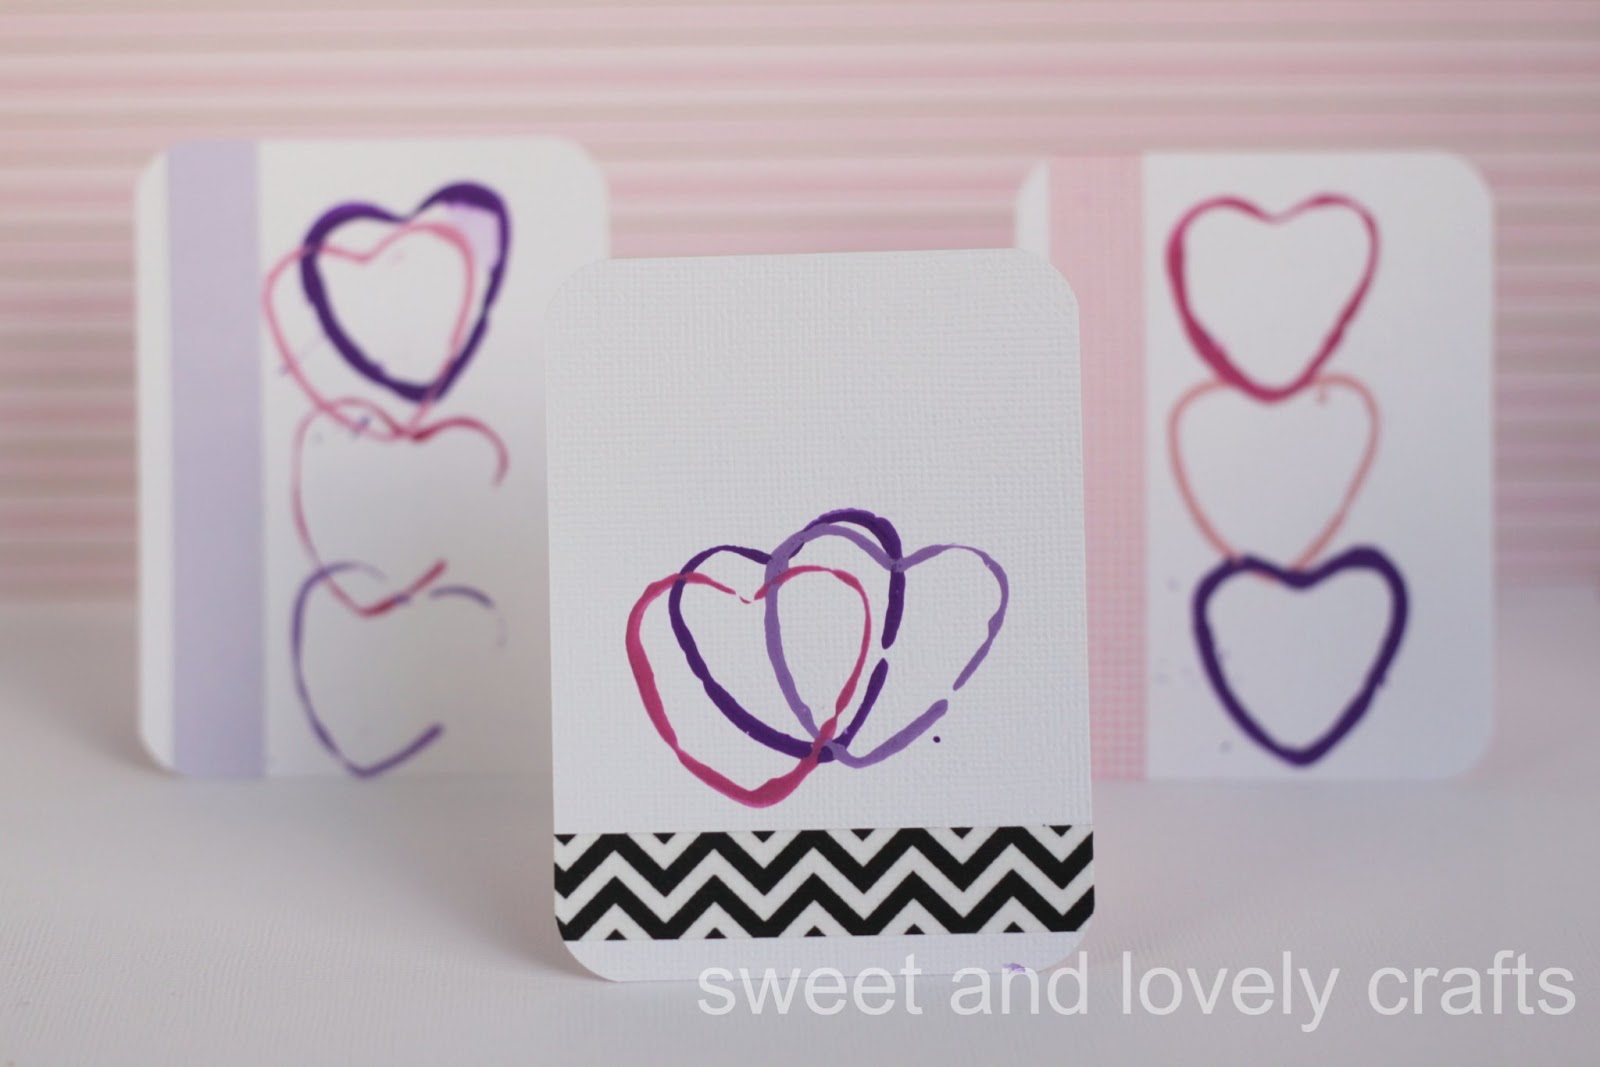
heart stamped valentines

I love handmade valentines. These ones are no exceptions. The best part is that you probably already have everything on hand that you need to make them.

Supplies needed:
small heart cookie cutter
various shades of paint
washi/decorative tape
cardstock
corner rounder (optional)
 
I cut the paper in little rectangles measuring 3" x 4 ". I poured the paint on a piece of tin foil. Claire had a great time choosing the colours of paint that she wanted to use, and creating her own patterns. 
 Once the paint was dry, I added a piece of washi tape to each Valentine. I used my corner punch on each Valentine.
 Then I handed them back over to Claire so that she could write her little message on them. (She was practicing writing N's, that's why there are two together in Valentine.)

How easy is that? Obviously, if we were handing these out to class mates (which we're not, since Claire's not in school yet) I would write the Happy Valentine's Day bit. Actually, I'd probably find a stamp, and stamp that on the back of each card. 

Monday, January 14, 2013

Footprint Race Car Valentine!

In an attempt to create a more boyish Valentine, Simon and I created the footprint race car. If we're being technical here, Simon begrudgingly let me paint his foot and sort of let me press it on the paper. Last year we created the footprint dump truck (Simon was slightly more agreeable last year!)

This one was fairly easy to make, once the child's footprint had been done. I used red paint, slathered the paint all over Simon's foot (he was sitting a chair), and then stood him up and pressed his foot on the paper. Make sure not to have too much paint on the foot, or it will just slide around too much when the child steps on the paper.

Once the paint is dry you can add in some of the extra details. Use a black marker to draw the road lines (hopefully yours will be slightly more parallel than mine.) Draw some wheels, the number on the car, and then the finish line sign. I used a green marker to add some grass (I just wanted to add a little colour). I couldn't find a red marker, so I used my red felt tip pen to add the spoiler thing on the back of the car. I drew (sort of!) a person inside the car with felt tip pens as well. Then just write you Valentine message on the top of the paper.

My plan is to scan this project, and print out some copies that we can send to Simon's Grandparents.

Am I the only one working on Valentine projects already? Let me know what you've been working on, I'd love to check it out. Leave the link in the comments.

Linking up with: Six Sister's StuffSkip to my Lou & Tip Junkie & Weekly Kids Co-op & Tatertots and Jello 

Tuesday, January 8, 2013

thumbprint Valentine bookmarks: part 2

Longtime blog readers may remember the thumbprint bookmarks that Claire and I made last year for Valentine's Day. Turns out, they were one of my most popular posts ever. So, I decided to make a few new ones for this year. If you're new to my blog, I'd love for you to follow me on my facebook page.

For these ones, I choose a fruit theme. (I have another set that I'll be posting shortly.) These are so easy to make, and aside from the drying time for the paint, they hardly take any time at all.

To Make:
Coloured cardstock.
ribbon
paint
decorative tape
corner punch (optional)
coloured pens/markers

To start, I cut my 12x12 paper in half, and then cut the bookmarks to measure 2"x6".
Decide what fruit you'd like to create, and have your child stamp their thumb on the bookmark.
Once dry, embellish the fruit with stems & leaves. I used some coloured pens to write the puns on the bookmarks.

I finished off the bookmarks by adding some washi tape to the top of the bookmark, and rounding the corners. Lastly, I punched a hole on top of the bookmarks, and folded a bit of ribbon through the hole.

You can have your child write the names of the lucky recipients of these bookmarks on the back of them.


Friday, January 4, 2013

Valentine's Day crafts


Some people like to wait a while before jumping into the next holiday, but I sort of like to jump in, feet first. I also know that it can take a while to plan crafts with kids, so now you'll have lots of time to make these Valentine crafts. The kids and I have already starting working on some new Valentines to hand out this year. Check back on Monday to see that post!

1. Footprint Dump truck
2. Puppy (made of hearts) Valentine
3. Bee Mine tag
4. Toilet paper roll Valentines
5. Thumbprint Bookmark Valentines
6. Gumdrop wreath
7. Mosaic heart
8. Peanut butter cookies
9. Love sign

Thursday, December 13, 2012

Reindeer sandwich


My kids loved this lunch! Leave it to Martha to think that you could turn a gingerbread man cookie cutter upside down and make it look like a reindeer. Take a few extra minutes to make this lunch, and really get your kids excited for Christmas.

To make:

Melt a few tablespoons of chocolate chips in the microwave, on 20 second intervals, until the whole dish of chocolate is melted. Pour the chocolate into a small plastic bag, and cut the corner of the bag. On a piece of wax paper, pipe some small antlers. Place the wax paper in the freezer while you make the rest of the sandwich.

I made a ham sandwich for Claire. To make the eyes, I cut a mini marshmallow in half, and stuck a mini chocolate chip on each marshmallow. I placed a red smartie on the tip of the sandwich for the nose. Take the wax paper out of the freezer, and carefully peel off the antlers, and place on the sandwich.

That's it! I hope that your kids enjoy it as much as mine did.

Wednesday, December 5, 2012

cork stamped ornaments


I love these cork print ornaments that Claire and I made. They are not made using traditional Christmas colours, but obviously you could make these with whatever colours you prefer. They require a little planning, but don't take very much time to make.

Required supplies:
cardstock (I used 4x4 paper)
paint (various shades)
paper scraps for flag/pennant thing
sewing machine (OR staple a length of bakers twine or ribbon to the ornament)
scissors
black pen/marker
wine cork

To start, I cut my cardstock into 4x4 squares. Rather than let Claire go all willy nilly stamping the cork all over the page, I made a few very tiny, very light dots with a pencil where I wanted her to stamp the ornaments. She had fun choosing what colours went where.

When the paint was dry, I sewed a line from the top of the ornament to the top of the page. You could just cut a piece of twine or ribbon and staple it on the page. Draw little hooks on the top of the ornaments.

Use two paper scraps to create the flag/pennant at the top of the page. I used a couple of Christmas rub ons that I had. You could just write Christmas words, but I don't always love my handwriting.

I chose just to make these as decorations, but you could use a larger piece of paper, and make it into a card, or conversely, using a smaller bit of paper and make gift tags.


Linking up with: Six Sister's Stuff &  Skip to my Lou & Tip Junkie & Weekly Kids Co-op & Tatertots and Jello

Monday, December 3, 2012

sprinkle pudding cups

 I love this idea of lining a milk cup with sprinkles. It has been beautifully photographed here. As one of the kids Advent activities, we had a little Christmas tea party yesterday. I had a lot of Christmas sprinkles kicking around, and these cups only took a few extra minutes to make. They were definitely worth making, the kids LOVED them.

To make the glasses, grab whatever chocolate you've on hand. I used chocolate chips the first time I made them, and bittersweet chocolate the second time. Melt it in a double boiler, or in the microwave on intervals. Dip the glass in the chocolate, and then in a bowl of sprinkles. They will set quickly.


My sister (is law) brought over some of the whipped shortbreads that we love so much here. I made Christmas Rice Krispie squares, and homemade chocolate pudding. I used this recipe, but I found it a bit too chocolatey. Never thought that I'd say that! It would be just as nice with
whatever store bought pudding you like. Whenever we have tea parties here, I fill the tea pot with chocolate milk, and the creamer with milk. The kids love stirring the two together.

For our advent activity today, we're going to write and post our letters to Santa. The anticipation is starting to build...


Related Posts Plugin for WordPress, Blogger...